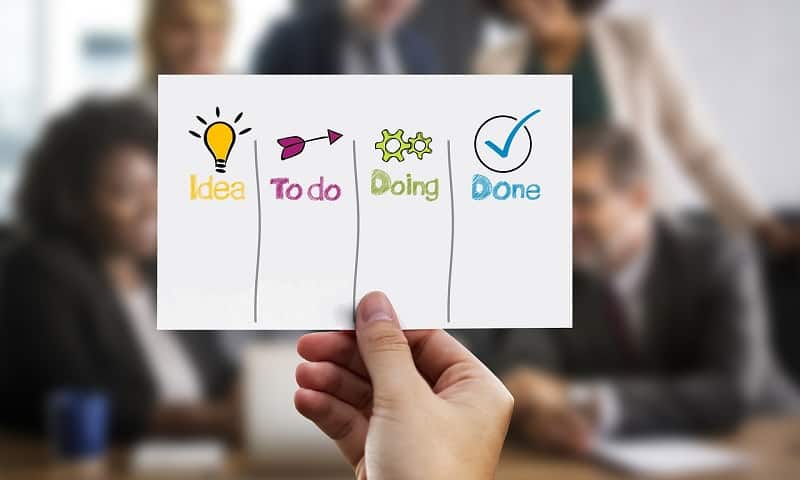
What is Agile Project Management?
Before looking at how to work with Agile techniques, we must first understand what Agile project management is:
Agile is a project management methodology, originally created and used by software developers. Since then, it has expanded to many other sectors and businesses and is now one of the most popular methods of project management.
The core value at the center of Agile project management is the “Inspection and Fit” concept, which means that last-minute changes are welcome at all stages of the project cycle.
Agile is a set of methods based on iterative and incremental development, in which requirements and solutions are developed through the collaboration of multifunctional and self-organized teams. Agility promotes adaptive planning, scalable development, and delivery (iterative calendar approach) and encourages a fast and flexible response to change. The Agile Manifesto introduced the term in 2001. Values of the Agile Manifesto (among others):
- Individuals and interactions
- Collaboration with the client
- Respond to a change
- Open communication and cooperation between the teams.
- Align with the delivery objectives of the program/area.
- Transparency between the team members.
- Quick cycles of comments
Step 1: Identify Product Vision
First, we need to understand what problem we are trying to solve and what impact it is having on our customers. To do this, it is important to empathize with the end user. Ideally, we should talk to them to understand their pain points and their needs. If we have compassion issues with a given user, we use the Empathy Map.
Every product you develop needs a vision. The task of developing the vision of a product must be assigned to the product owner. The product vision offers a vision of the future: it summarizes the main benefits and features that the product will bring. This vision is long term and usually covers a year or more in the future.
Step 2: Product Roadmap Creation
This plan describes how the product is likely to grow in future products. It is a summary of the high level of what the product will become and focuses on the objectives rather than specific characteristics. There are many software programs that offer the ability to create a plan, but it can also be created on the MS sheet.
Once your strategy is confirmed, it’s time for the Product Manager to translate that vision into the product roadmap. This is the high level of requests for your project with a time limit when you develop each of them.
The “loose” part here is important. Do not spend days or weeks planning each step, but identify, prioritize and estimate approximately the approximate effort that each piece of your product will have on how to make a useful product.
For each of these goals, you want to include 5 key information: date, name, purpose, characteristics, and data.
Step 3: Assign an Agile Project Team
Does your development team struggle with multiple projects that are never removed from the list? Do not be afraid, you can take steps to make projects faster and more efficient by using agile project management. Soon you will set and meet deadlines with effective use of the individual benefits of your IT staff.
With Agile Techniques, your employees work independently to fulfill certain roles included in your project. In this way, you can assign the team members the tasks that best suit their professional forces. An Agile team has three roles:
Product Owner: Often a leader or key shareholder, the product owner has a vision of the end product and an idea of how it will fit into the company’s long-term goals. This person should lead the communication efforts, alert the team of major events and intervene to correct the direction and make high level changes if necessary.
Scrum Master: Scrum Master is very similar to the project manager. They are the custodians of the process, commenting on the donors and mentors of the team members. They monitor day-to-day functions, maintain the Scrum Committee, communicate with team members, and ensure tasks are performed at the target.
Team member: The team members are creators: front-end and back-end engineers, writers, designers, videographers, etc. Team members have different roles and abilities, but they are all responsible for doing business on time and with excellent quality.
Step 4: Create a Product Backlog
It is a unique list of all that is needed in the product and also Includes epic stories and user stories that will have to be developed in the next sprint for a specific launch.
It is a more tactical tool that describes the characteristics that the team must fulfill. A product backlog is heart to Agile / Scrum and needs to be revisited frequently as priorities can be changed.
The key event for creating a product backlog is a meeting scheduling session. It is a very interactive meeting that usually lasts 2 to 4 hours. The objectives are to develop a product vision, create and prioritize user stories and topics, and develop a line of minimum business characteristics (MMF) and an appropriate release plan.
Step 5: Create Sprint Backlog
Once the team and the owner of the product have prepared enough stories to start the first sprint, they pull user stories from the product backlog into the “sprint backlog.” The team retains the product owner’s priorities when creating the sprint backlog, but can extract the stories into the backlog out of order if it makes sense that some stories grow together. This creates work responsibilities for a 2-week development sprint.
Step 6: Release Planning
The agile release plan shows how and when features (or functionality) will be announced and provided to users.
By aligning the project in agile release, product managers can better manage project constraints and adapt to growing needs or challenges during the development phase, while occasionally producing products to end-users.
Once an initial feature list identified, set priorities, and evaluate the initial list of features, it’s time to start release planning. The release is a set of productivity increases that are issued to the customer. Release plans look like several iterations (agile sprints) in the future and can range from six to nine months. The longer the release date of the feature, the more likely it will change.
Releases are defined by date, theme, and all scheduled features. The goal is to evaluate which features will be delivered before the launch date.
Step 7: Plan Sprints (Iterations)
A typical sprint lasts between 1 and 4 weeks and must remain the same throughout the project, as it allows teams to plan their future work with greater accuracy, based on their previous performance.
At the beginning of the sprint cycle, you and your team will create a list of backup items that they believe can be added at this time, which will allow you to create functional software. Therefore, it is easy to use one of the agile methodologies to deal with them (which we will see in more detail below).
Sprint planning takes place at the beginning of each sprint cycle. For example, if you do a weekly sprint, you schedule a planning session every Monday (or any day of the week you choose to start).
Step 8: Track Progress with a Daily Burn-down Chart
Communication with your team is crucial in agile methodology. When working on tasks during a specific sprint, add updates to your tasks to inform your team of all relevant details.
Burn down chart is mostly used to track the progress of each sprint, working on the vertical axis and the number of sprint days marked on the horizontal axis.
How to measuring progress in the Burn-down chart will of course depend on your project and the type of team you manage.
They display the “burn-down” of each sprint (which helps team members see progress that has been made) or the overall project, allowing the team to see at a glance if a particular sprints is too late or too early.
You can also add a status update so that it can be communicated to the right people in the context when the status of the task changes.
Load the documents related to the task in the update section or in the information boxes. You may have to write a particular copy and another person’s task during the sprint is to modify it. Load your final job to update your task and @mention the person responsible for editing, which will allow you to easily share information and “download the key” from the end of the task to the beginning of the task.
Thanks to the internal integration of Google Drive, you can use the same main document. Make sure only one version is in circulation if you need more than one person.
Step 9: Daily Stand-up Meetings
In addition to communication on the platform, one of the principles of agile project management is face-to-face communication. Schedule brief meetings of 10 to 15 minutes at the beginning of each workday during which the team will meet, give an overview of what you did the day before and what you will do that day. It is possible to highlight any specific problem that may benefit from the contribution of the team, allowing maximum cooperation and support from colleagues.
Step 10: Sprint Review
Agile value of retrospection and learning from previous mistakes so that your team’s workflow and practices can be continuously developed and improved. Sit down with your team at the end of each sprint, check the taskbar and make sure everything is complete with a green mark or “Done”.
Here is a key to checking the initial plan to make sure all conditions are met. As the product owner, you have the choice to accept or reject certain features. If something is wrong, ask why? How to customize the next sprint so your team can reach your goals? Agility is about continuous learning and repetition, that is, in their processes and products.
This will motivate your team and improve morale, visually indicating everything you have accomplished. It’s also a good time to discuss anything that can be improved in the future and to improve work processes based on feedback.
Step 11: Sprint Retrospective
In order for Agile to manage projects, you must have a clear step after each step. This is determined during your sprint retrospective. Once the sprint is over and the features displayed, it’s time to decide what to do. Did you learn during the sprint what changes your schedule or your initial vision of the project?
Do not just plan, but also take the time to discuss how the previous sprint was done and how you could improve in your next one.
The retrospective is a natural continuation of the review so that even though its stakeholders may withdraw, the rest of the team must participate and give their ideas. It makes more sense that your sprint retrospective happens just after the sprint check.
At this point, you need functional software that can send, receive comments, and schedule new features or updates. This uninterrupted delivery, training, and construction is what makes Agile so powerful. Instead of simply working through accumulation, you launch products and see how people communicate with them. This means that instead of working on a product for a year just to launch it and discover that some of the basic features are missing, you may be able to understand it after the sprint and adjust it
Conclusion
There are many agile project management techniques, all of which have one thing in common: they work in short cycles, called iteration.
It allows teams to continually evaluate and reassess customer expectations and continually improve their product rather than working to produce something all at once. The team will focus on the tasks and sub-projects with the highest priority, which will change and adapt to the needs/expectations of the customer/stakeholder.
The team is at the center and each member of the team will work to fulfill the tasks for which they are responsible for each period. The goal of each team member is to show the progress of the tasks with the sprint, working for their tasks to be “implemented”.